Documentation
Detailed guides on setting up and managing your CNXK SSO integration.
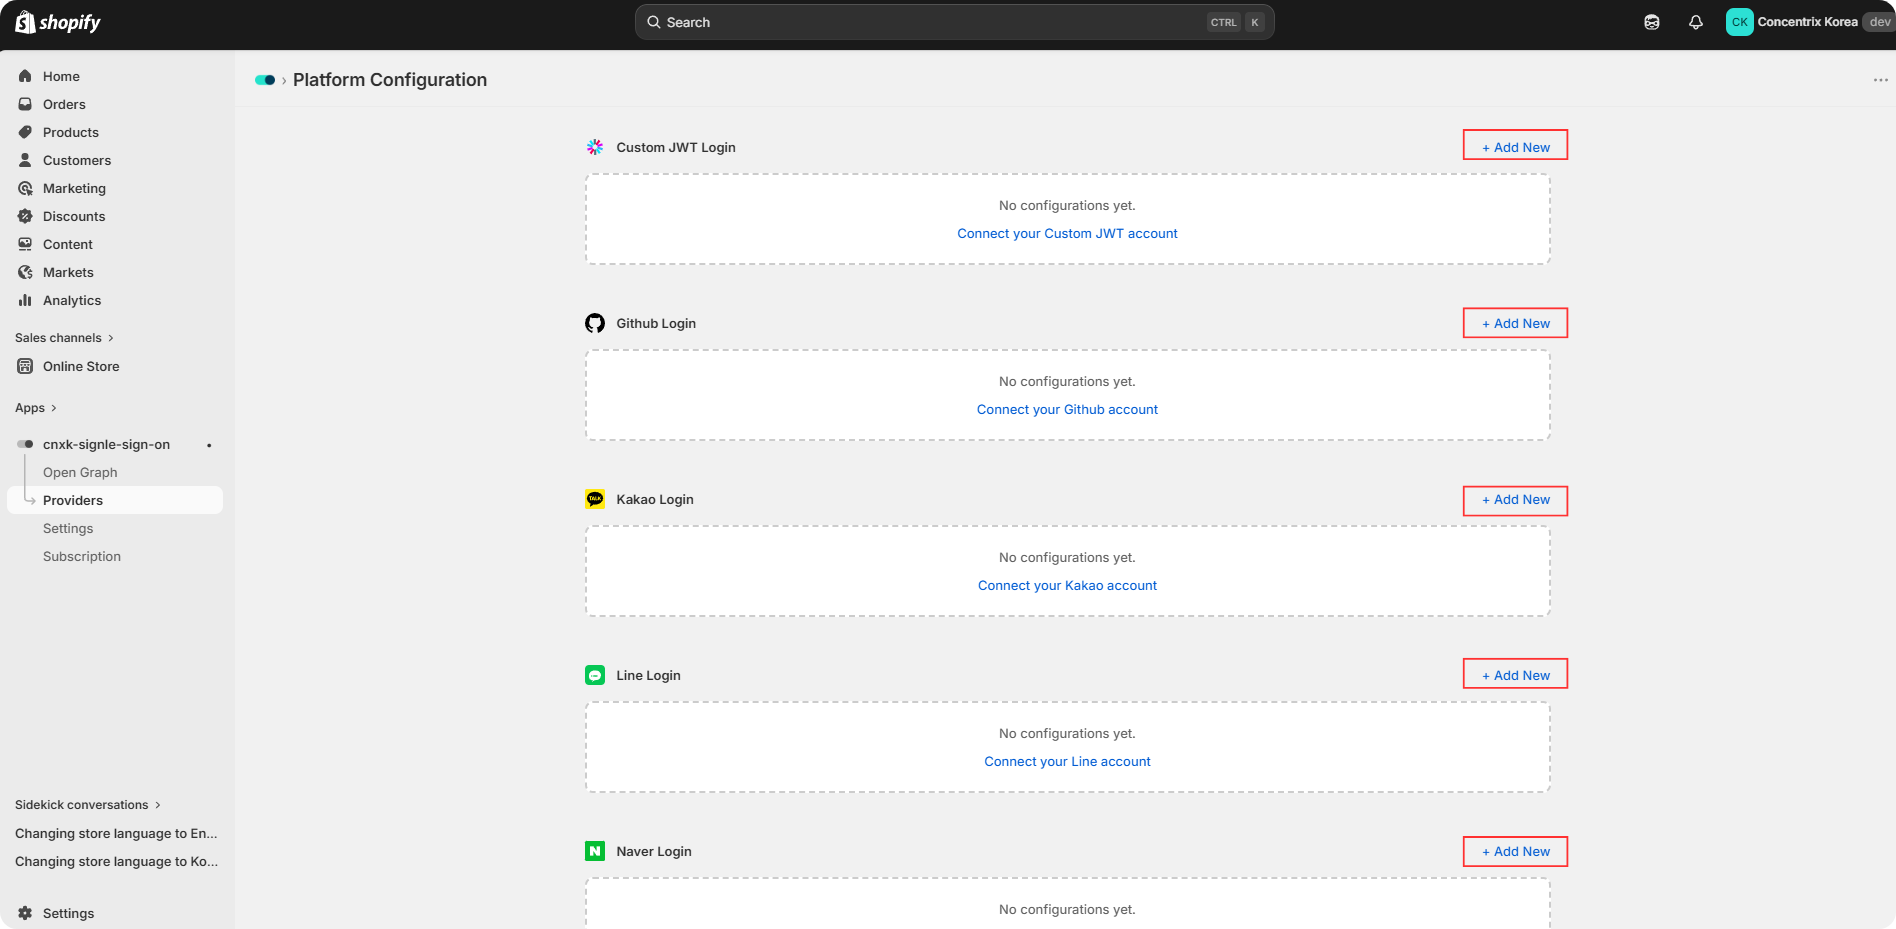
1. Provider Setup
Configure your social login providers
Go to Provider menu
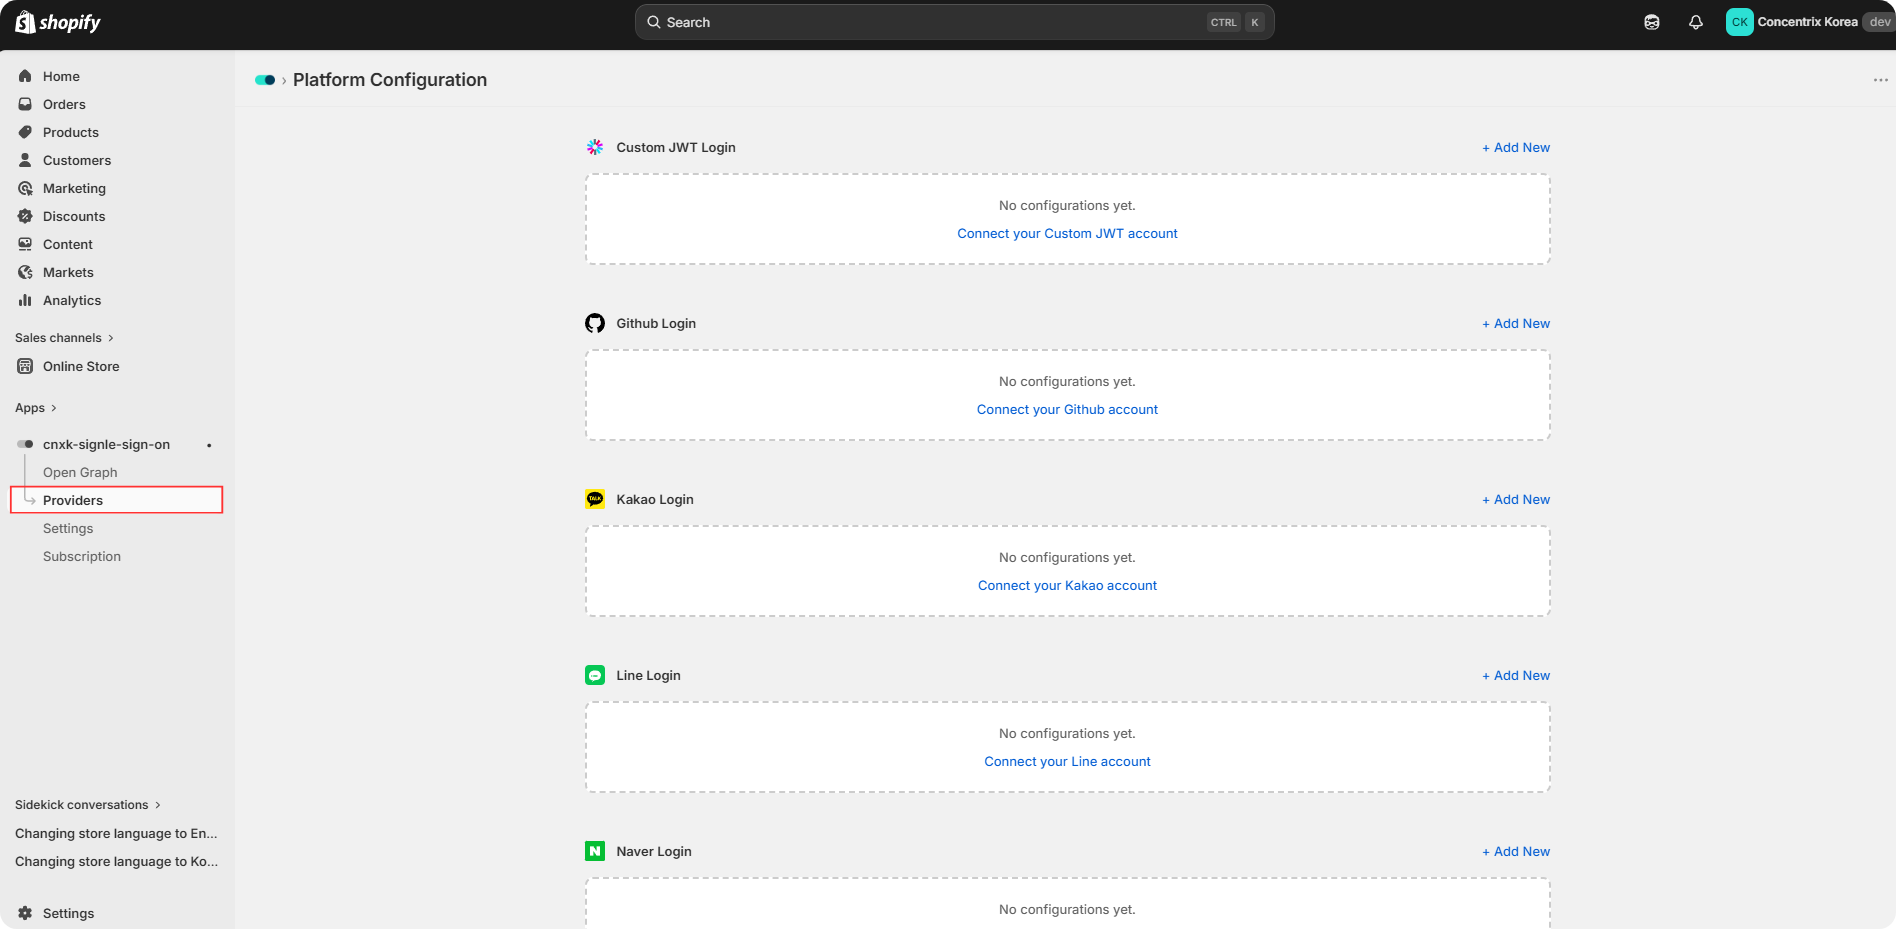
Click Add New button to start setting provider.
Step 1. Basic Settings
Choose where to place the provider button on your online store. If your customer account type is Legacy, you can edit the button placement in the Theme Editor. If your customer account type is New Customer Account, follow the default placement settings.

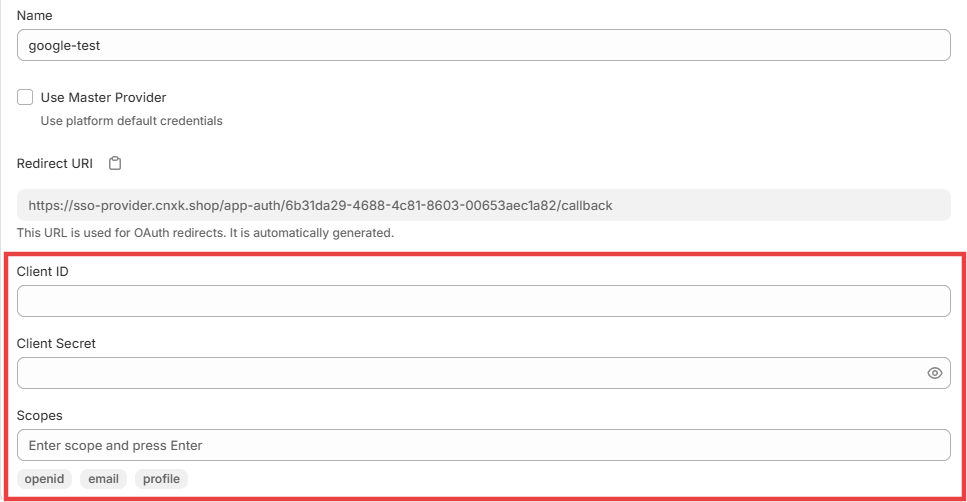
Enter your Google account name.
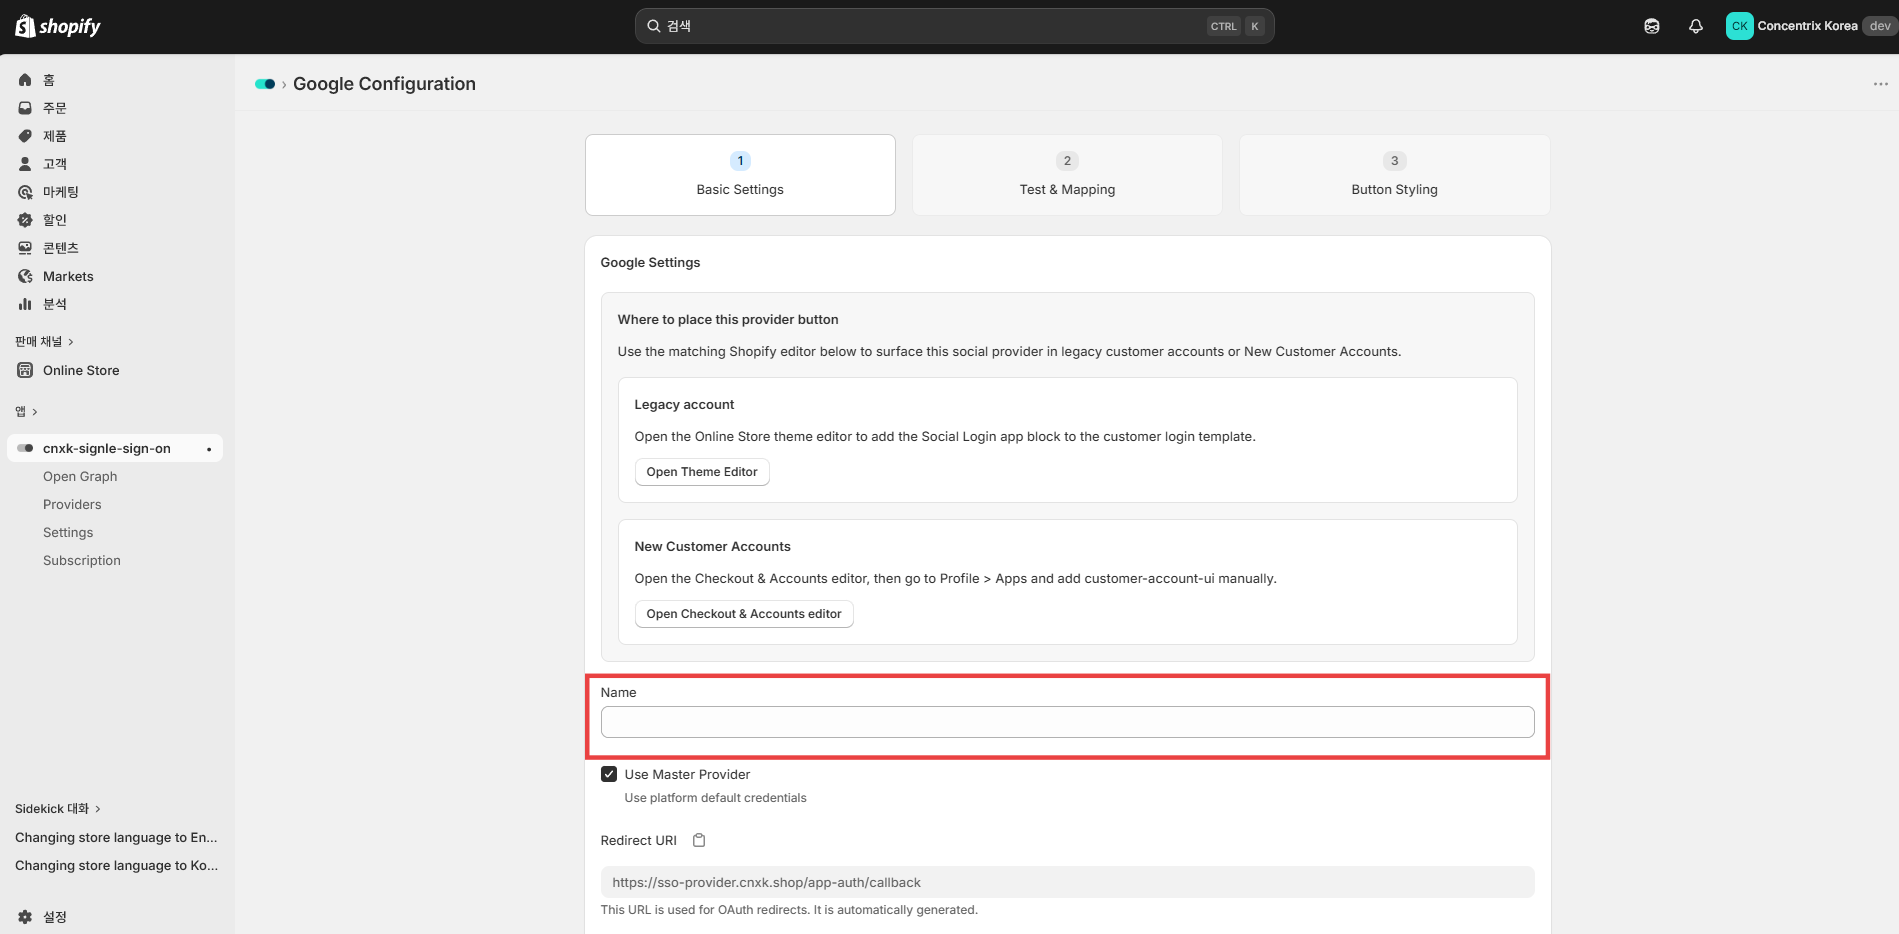
Select whether to use the Master Provider or set up your own provider. To use your own provider, clear the Master Provider checkbox and enter your Client ID and Client Secret.
Click Save to proceed to Step 2.
Step 2. Test & Mapping
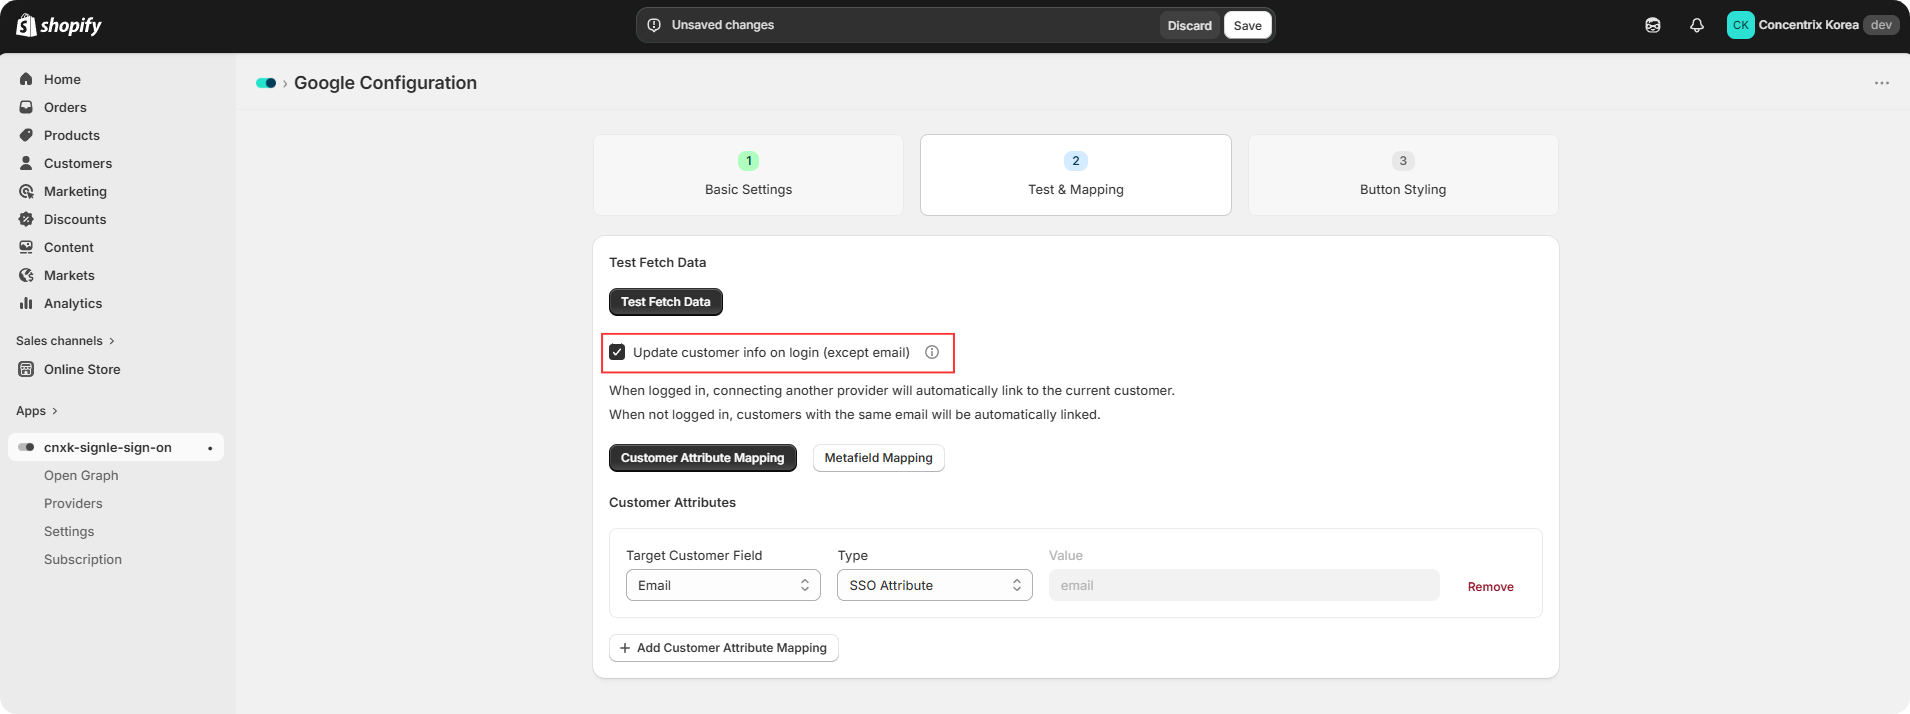
Before mapping attributes, click Testing fetch data to perform a test connection and ensure that your IDP configuration is correct.
Select the Update customer info on login checkbox if you want customer information to be updated automatically upon login.
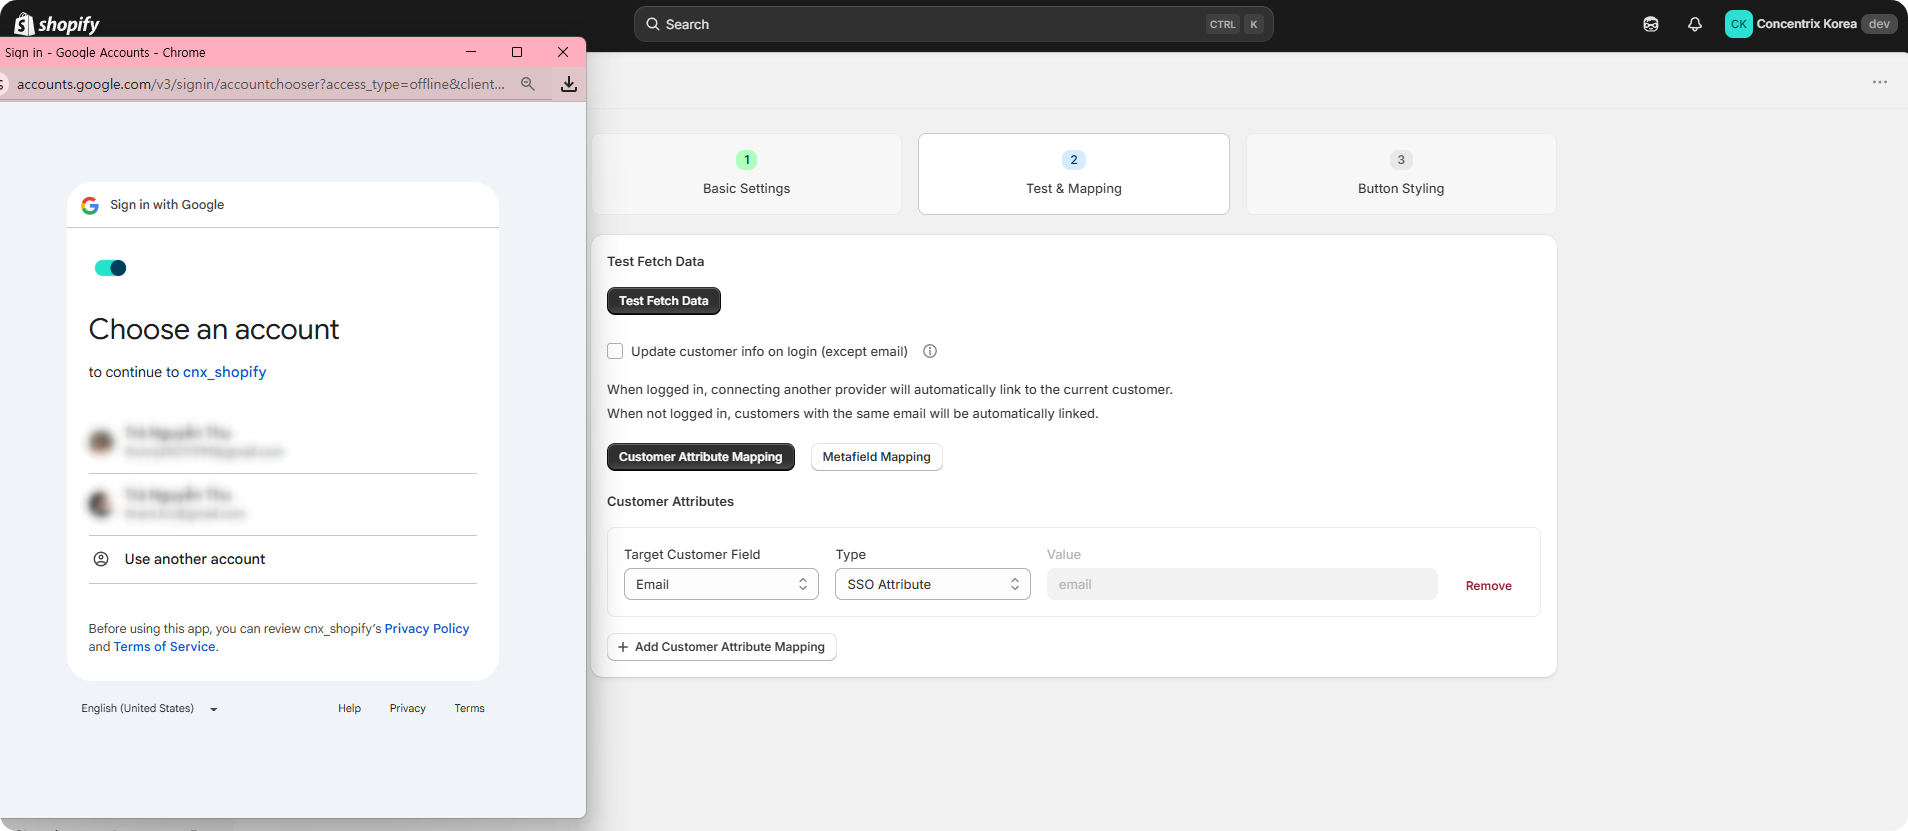
In the Google login pop-up, select the account you want to connect, then proceed with login.
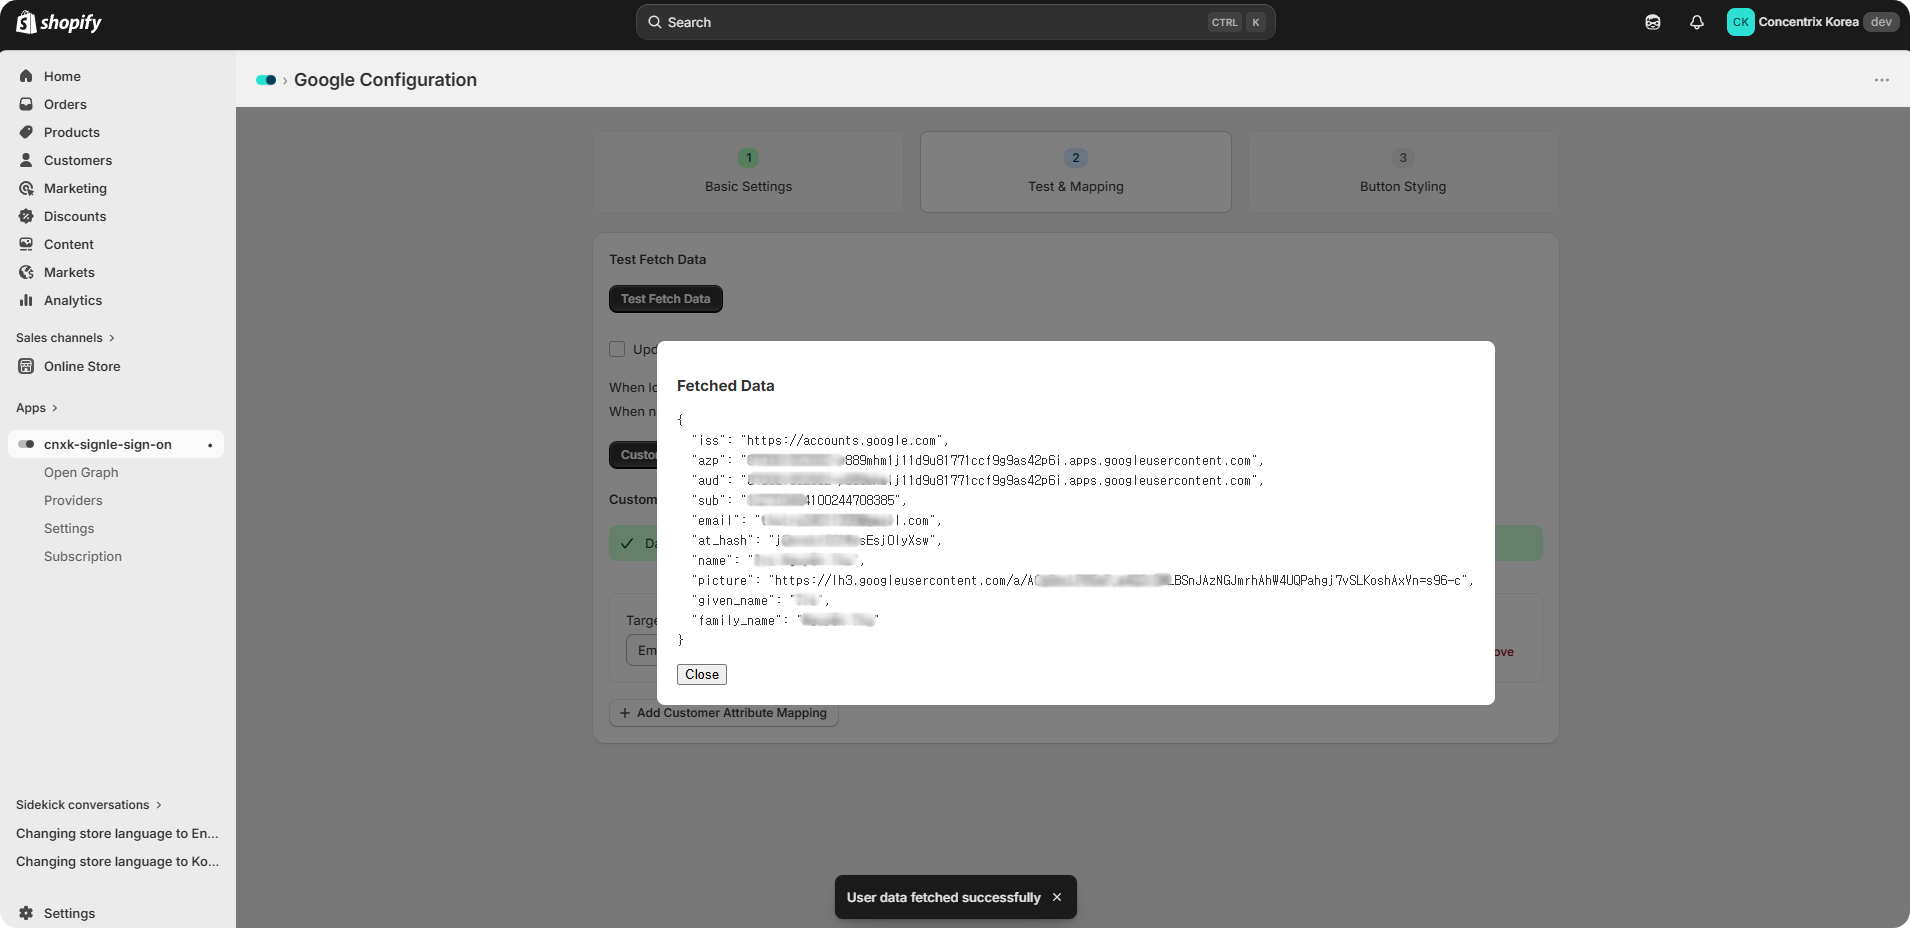
After entering valid Google credentials, a pop-up window like the one shown below will appear.
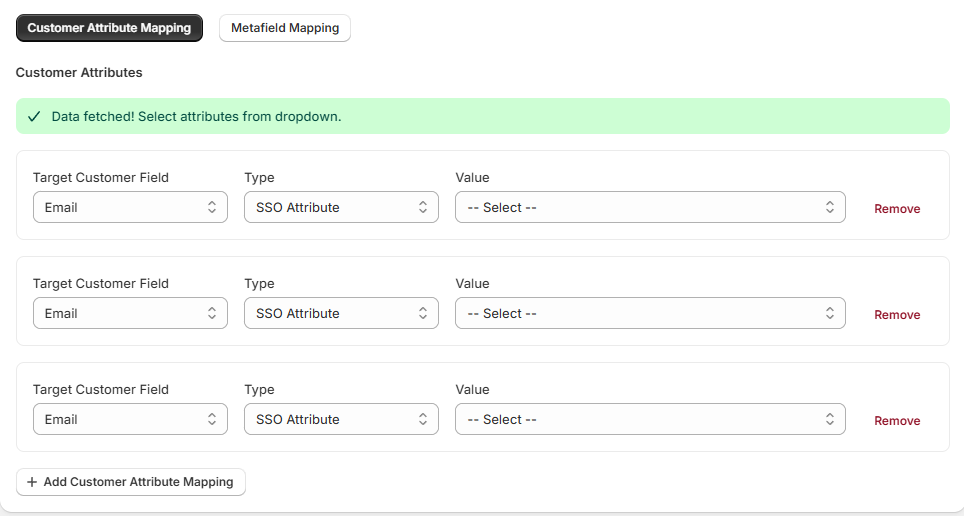
Click Add Customer Attribute Mapping to map attributes between Shopify and the provider. Then select the target customer field, type, and value.
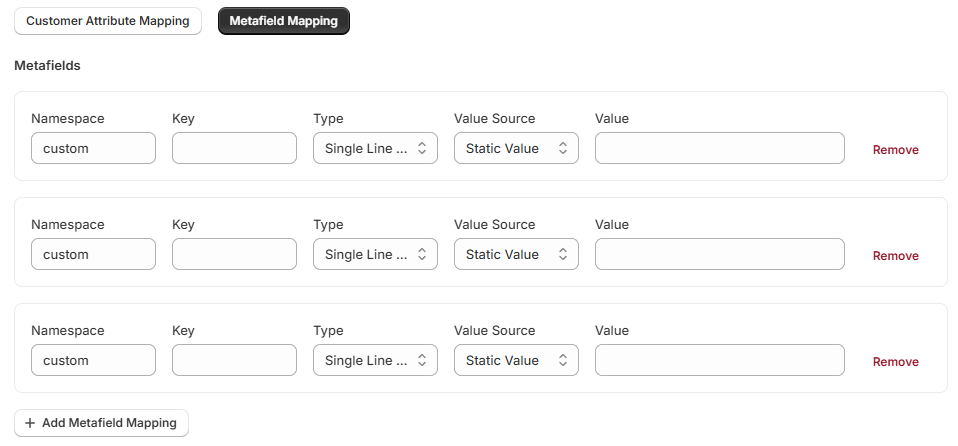
Click Metafield Mapping to configure your metafield mapping rules.
Click Save to proceed to Step 3.
Step 3. Button Styling
Choose the button type (Default Button or Icon Button) and begin styling the button.
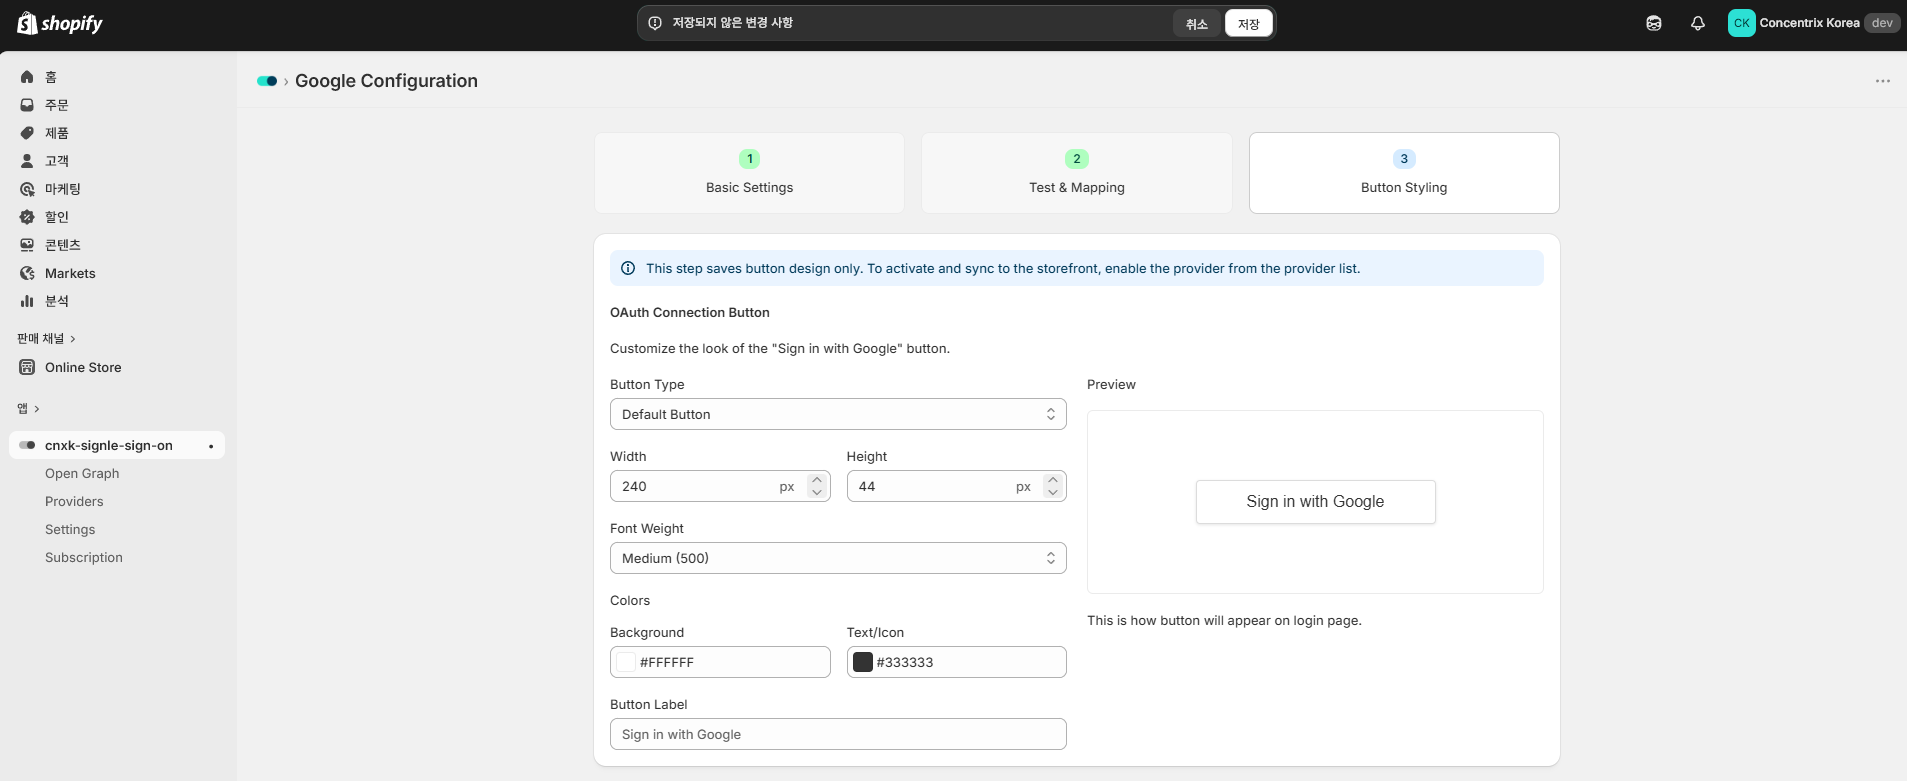
If you select Icon Button, you must upload a button icon image. You can preview how the button will appear on the login page in Preview.

Click Save to complete the provider settings.