Documentation
Detailed guides on setting up and managing your CNXK SSO integration.
2. Enable & Test SSO Configurations
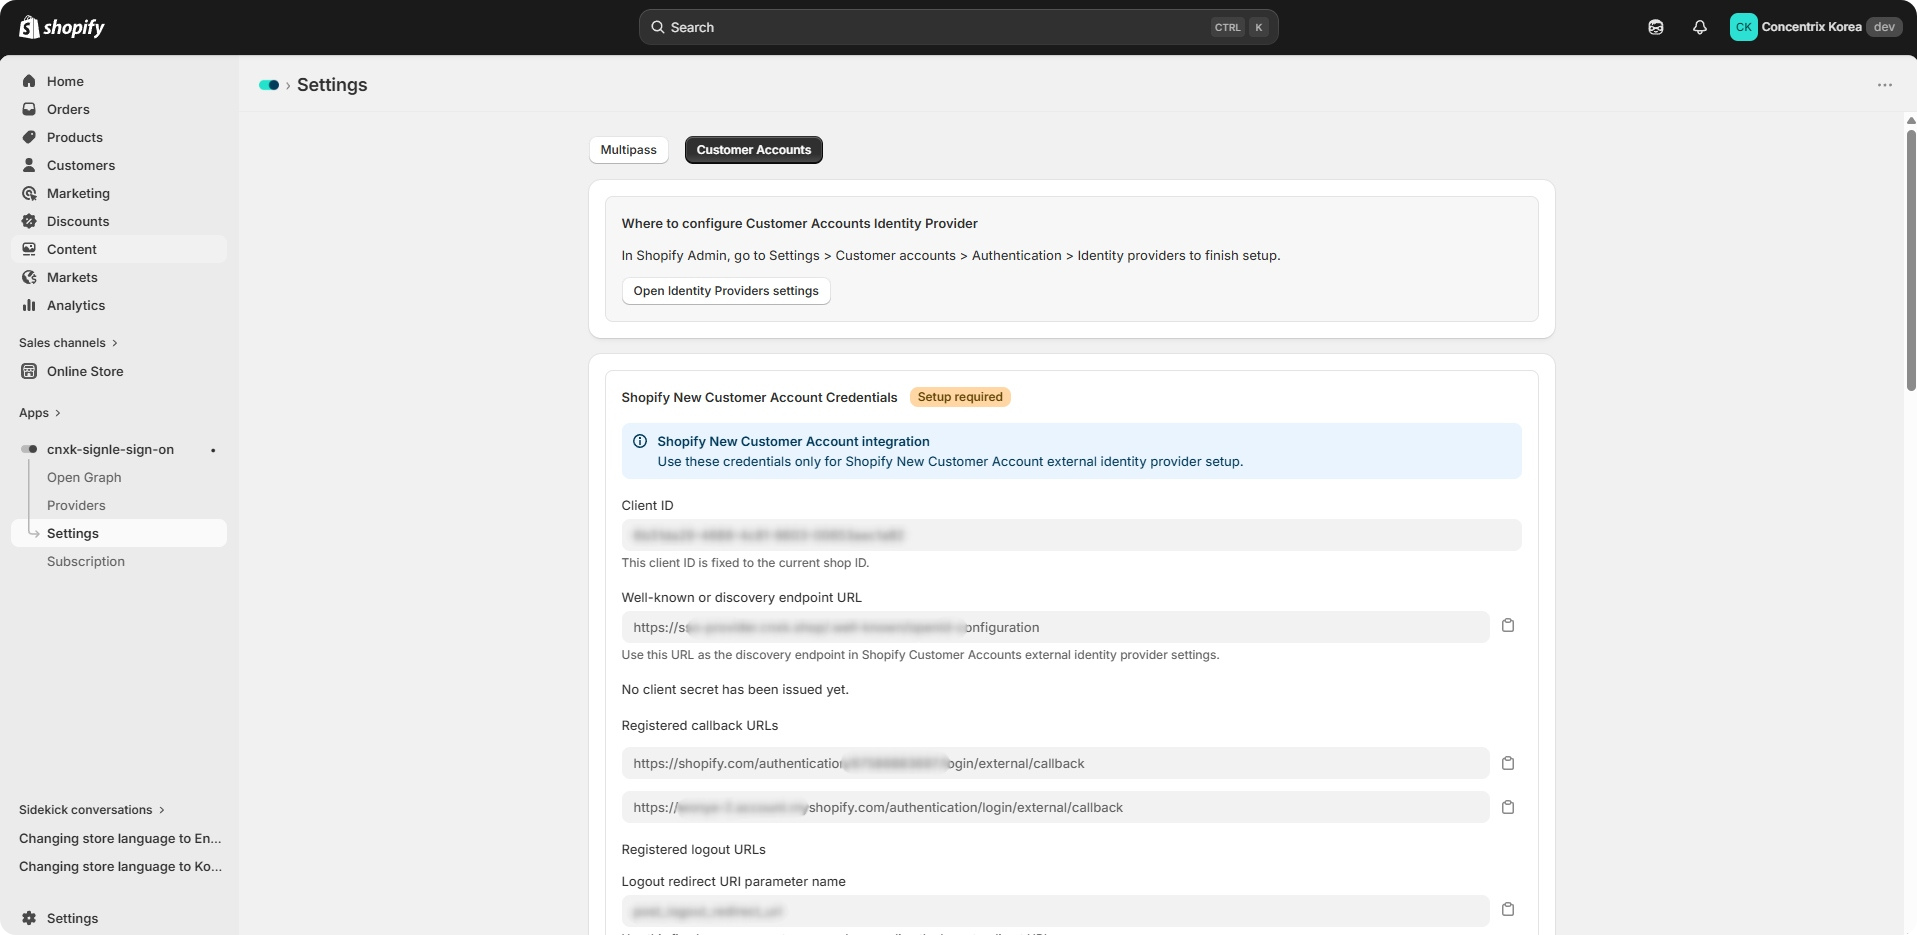
1. App Settings > Customer Accounts
Return to the application and click the Settings tab.
Go to Customer Accounts.
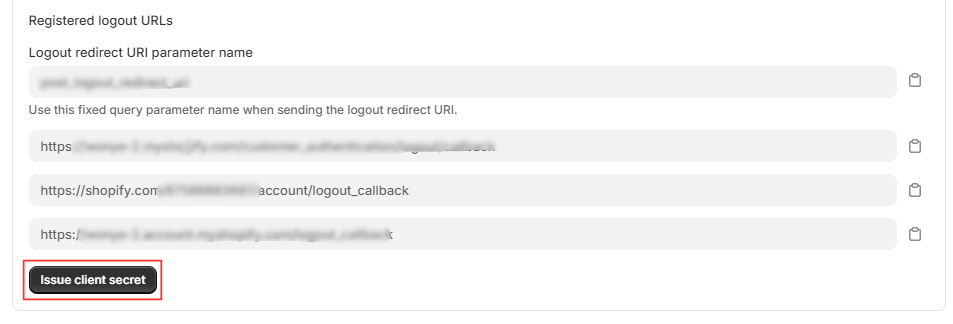
Click Issue Client Secret to generate a client secret.
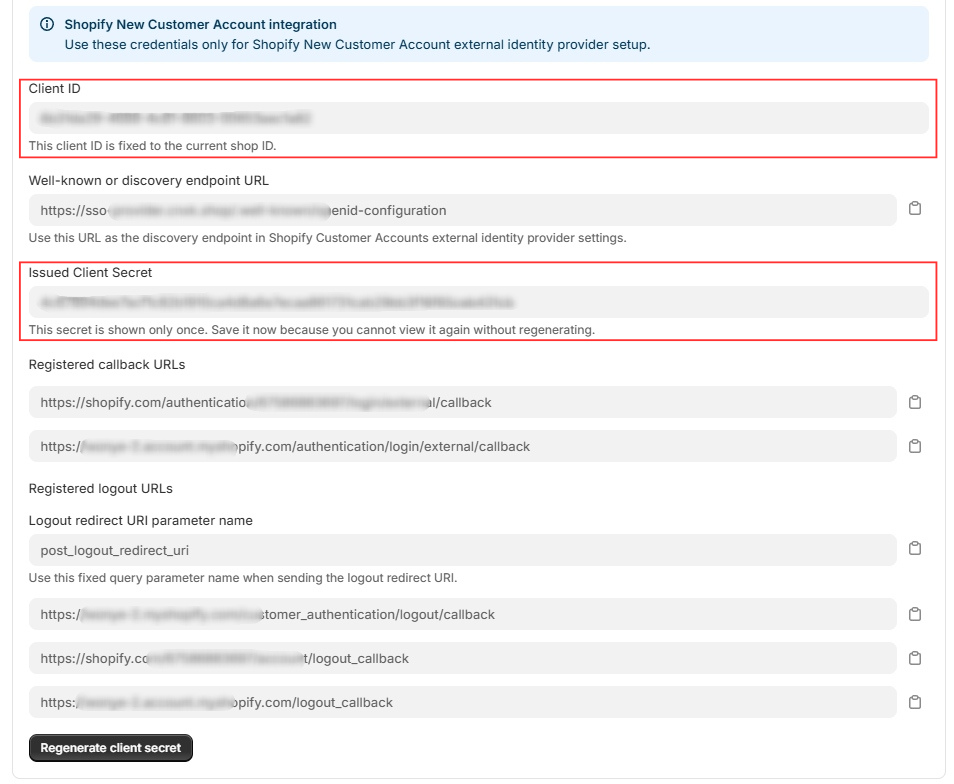
Copy the Client ID and Client Secret, and keep them available for later use.
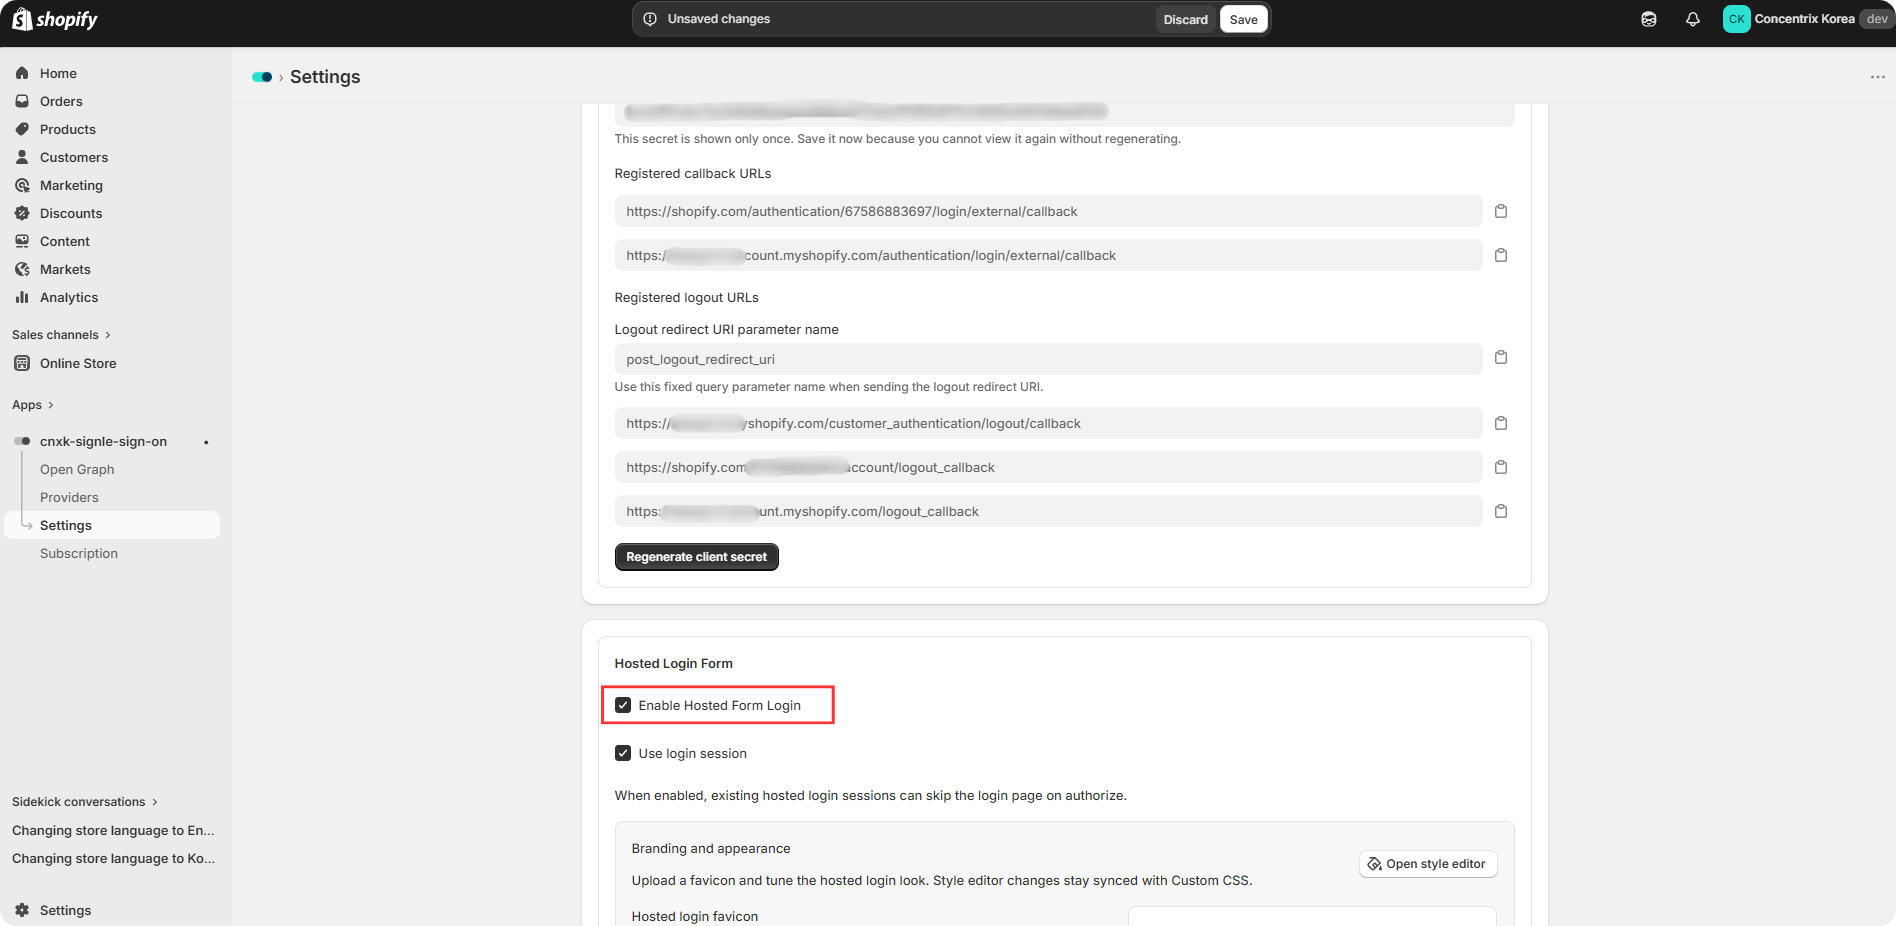
Select the Enable Hosted Form Login checkbox, then click Save.
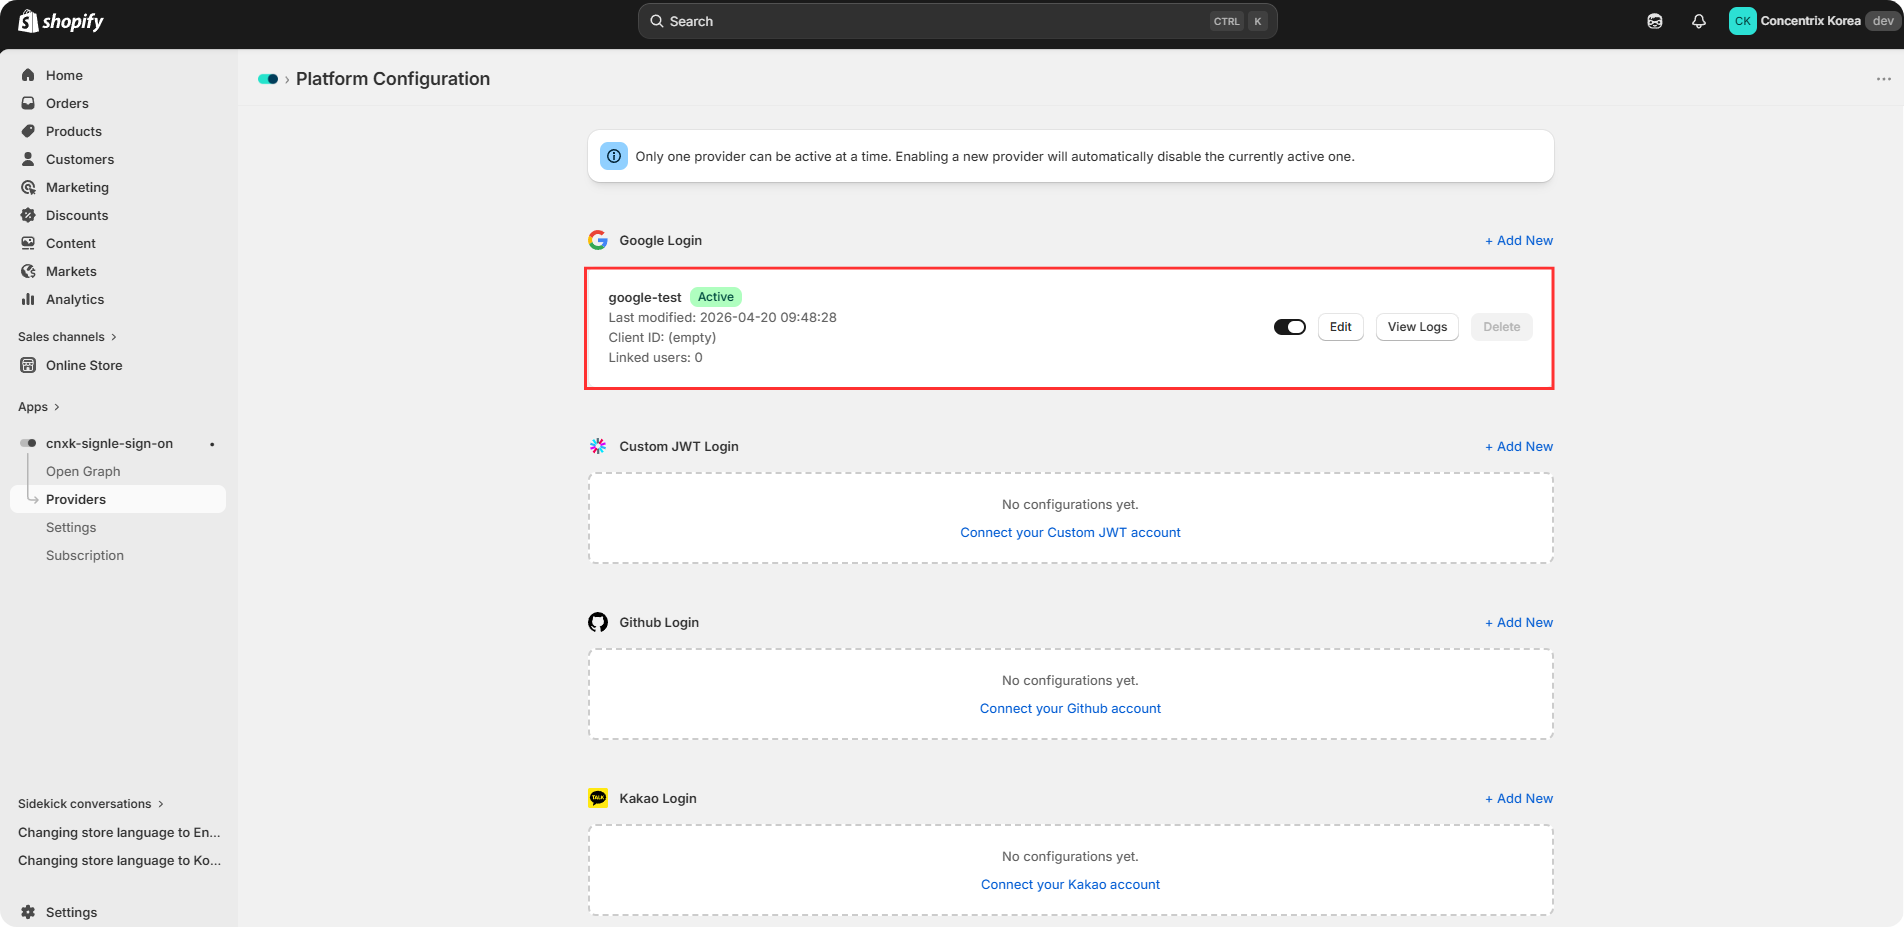
Return to the Providers tab and make sure your configured provider is set to Active. If it is Inactive, use the toggle to switch it to Active.
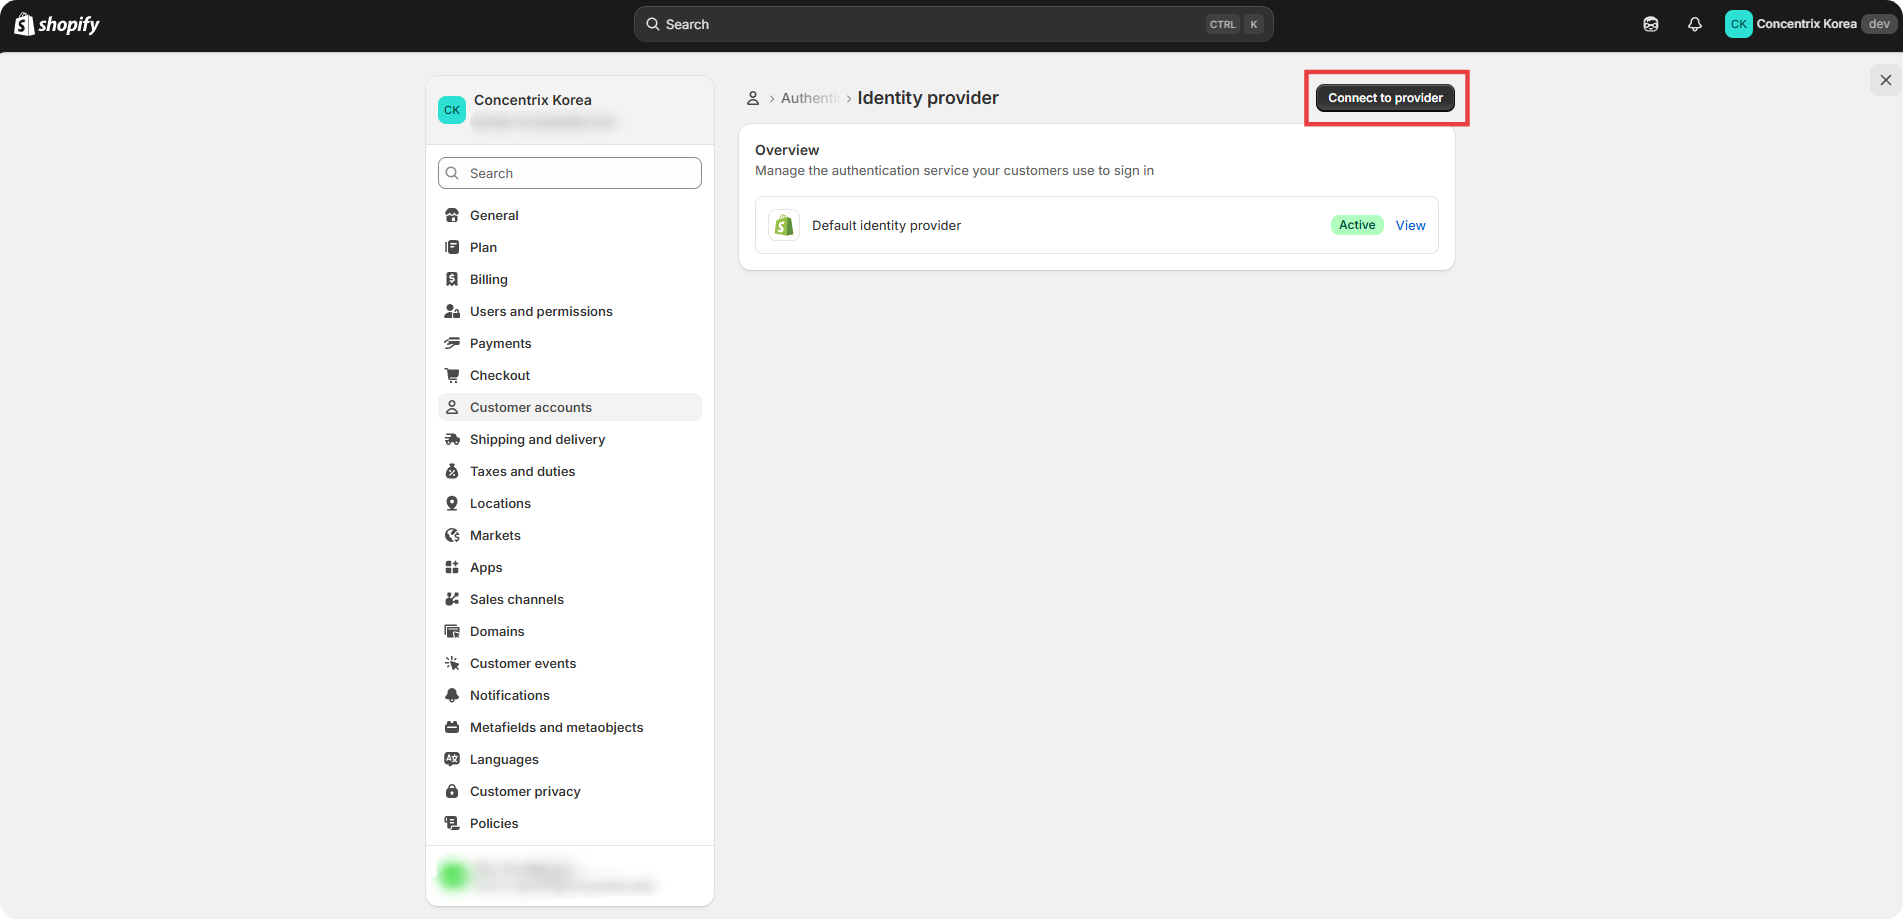
2. Shopify Admin > Settings
Go to Settings in Shopify Admin.
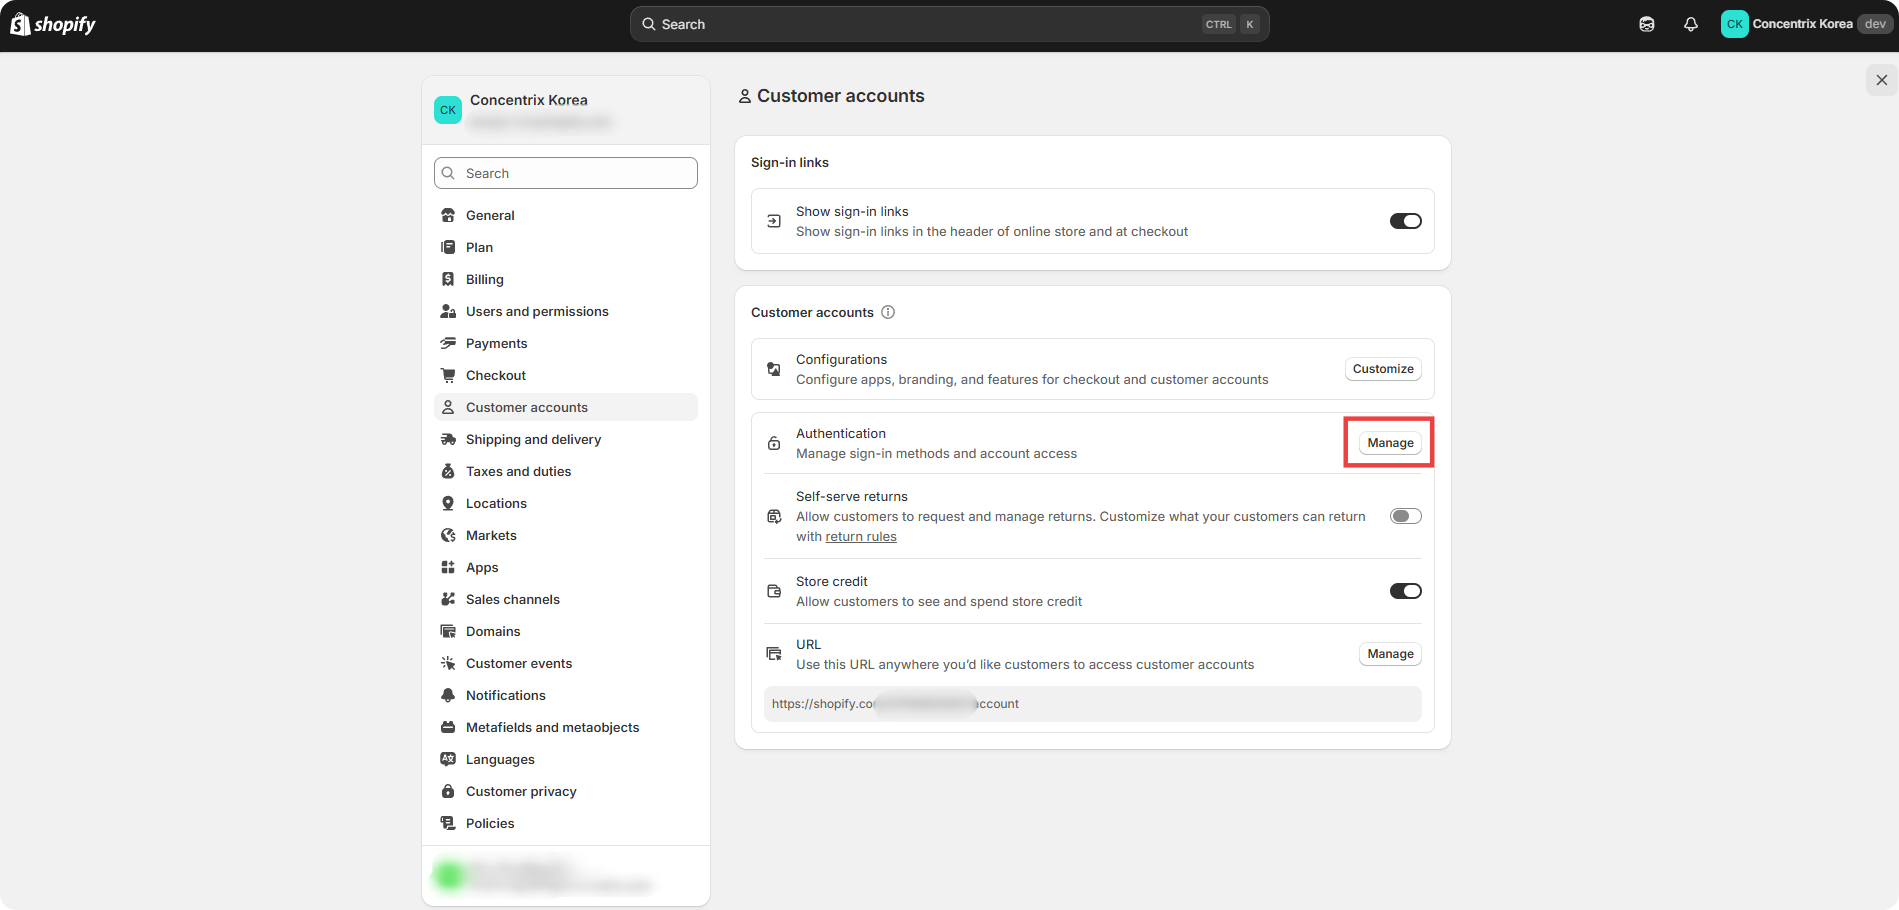
Under Customer accounts, go to Authentication and click Manage.
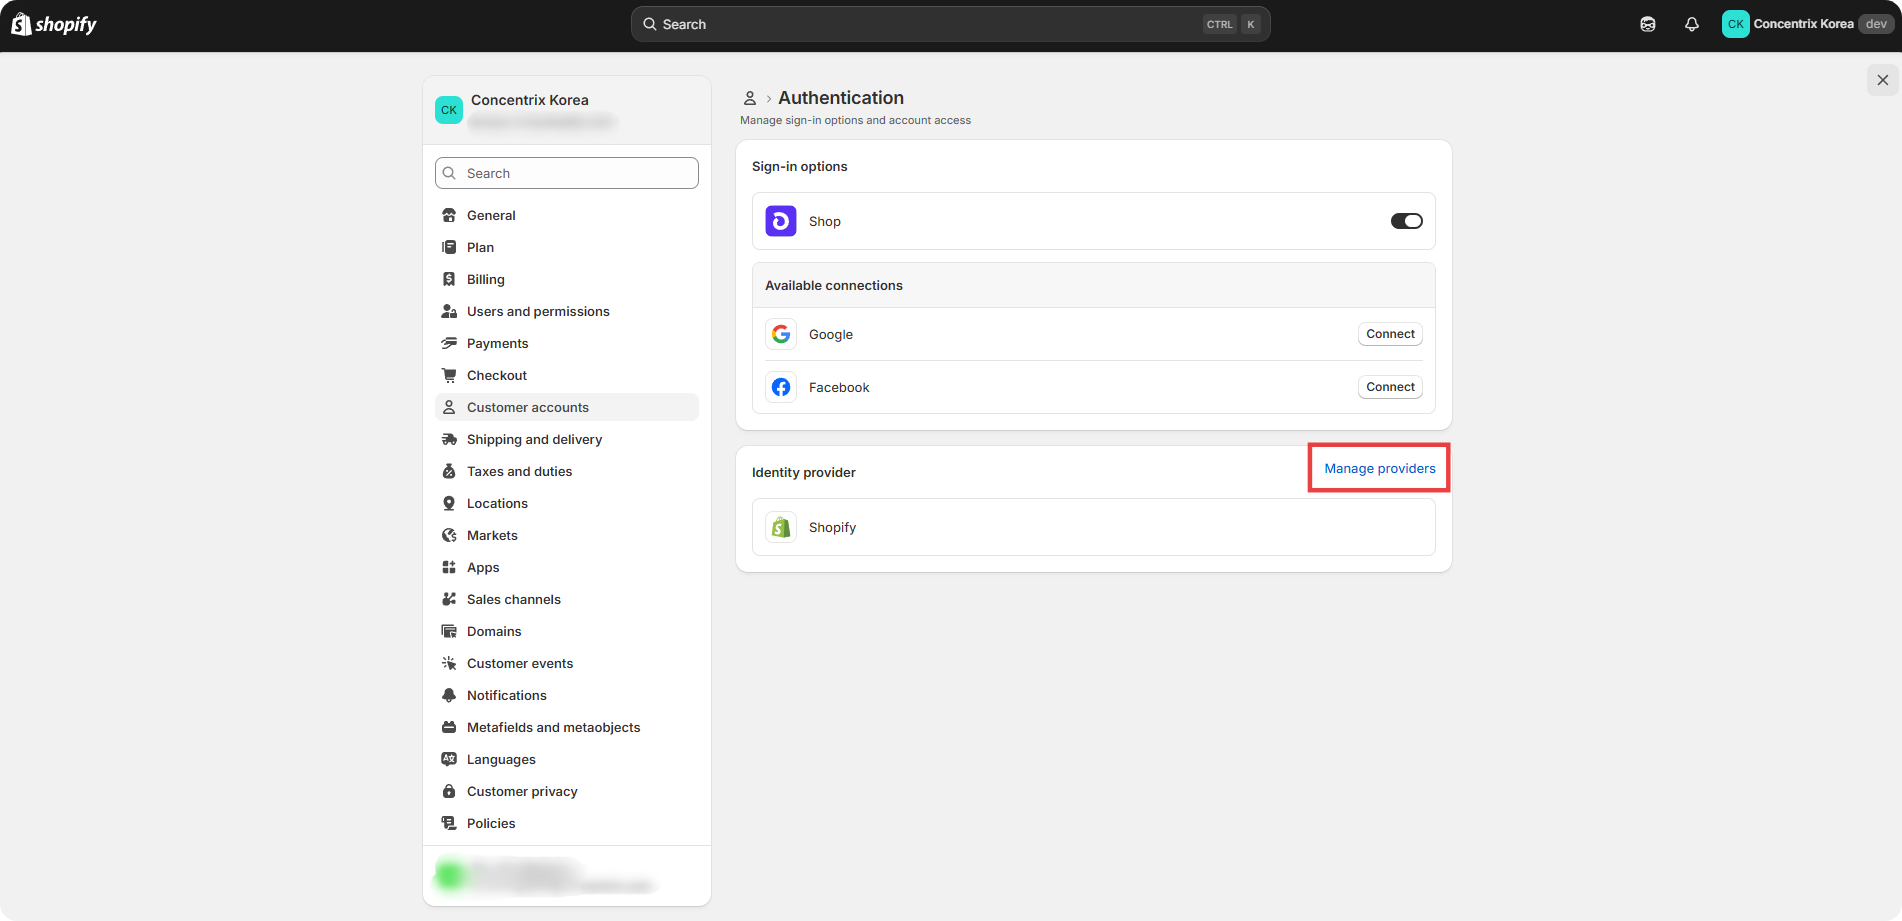
Click Manage providers.
Click Connect to provider.
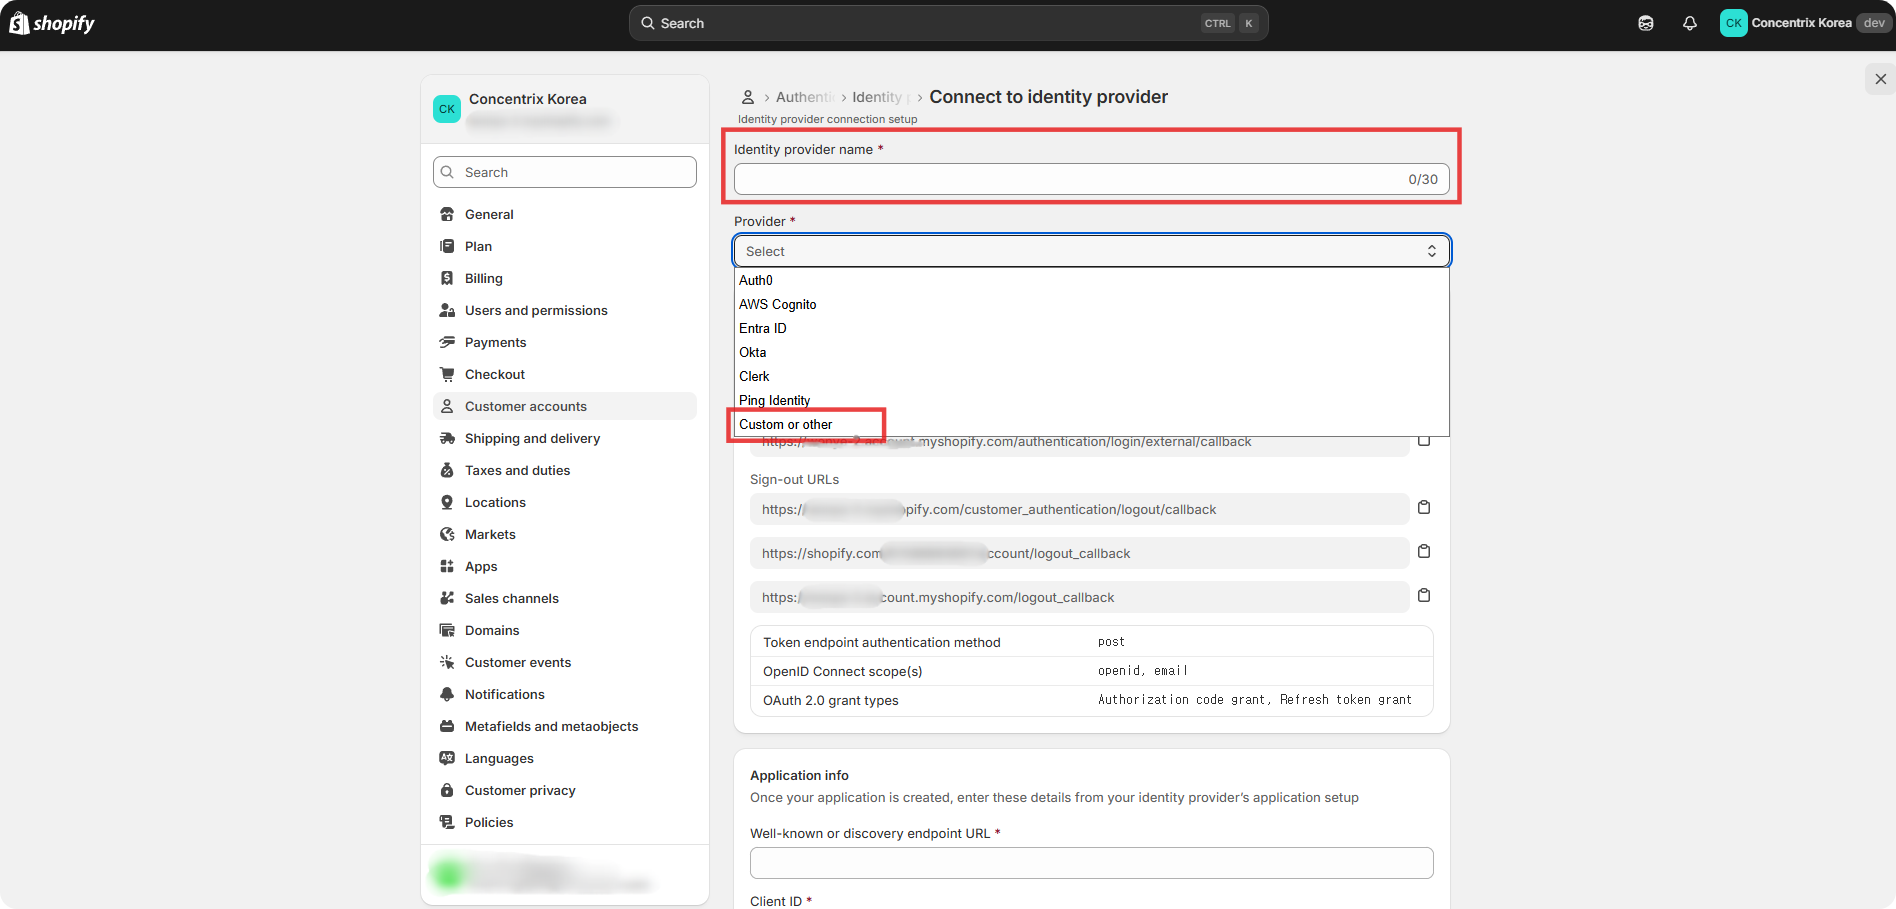
Enter the identity provider name, then select Custom or other from the Provider dropdown list.
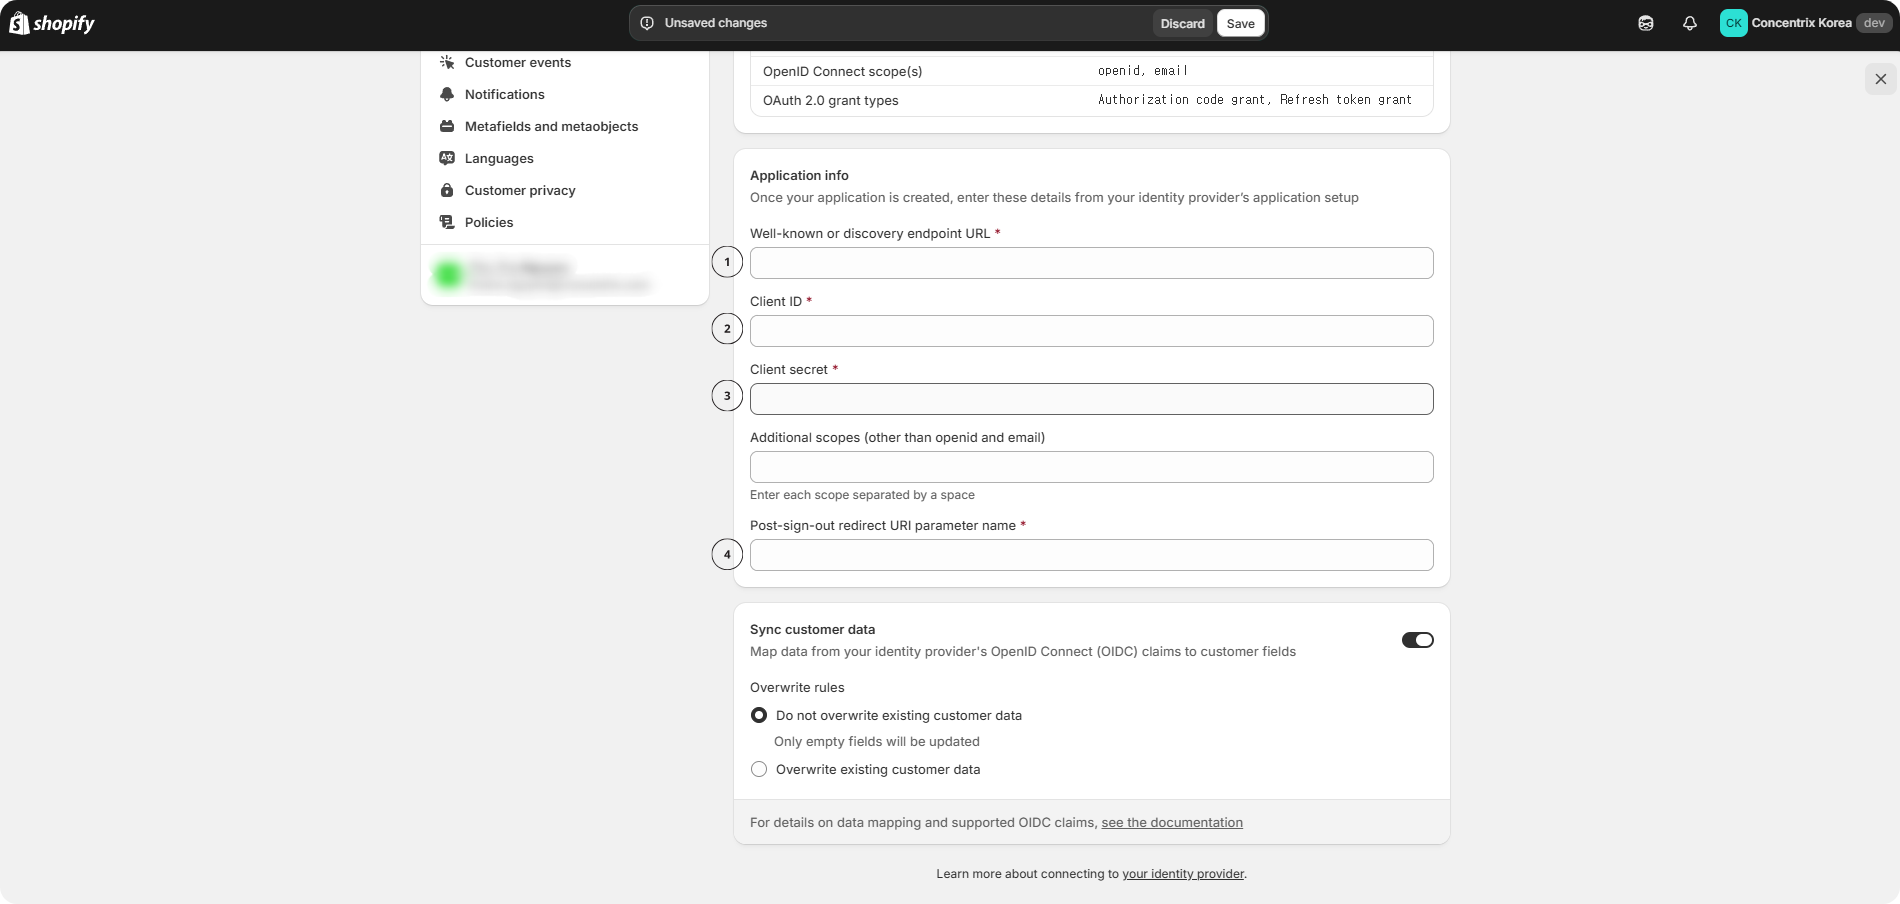
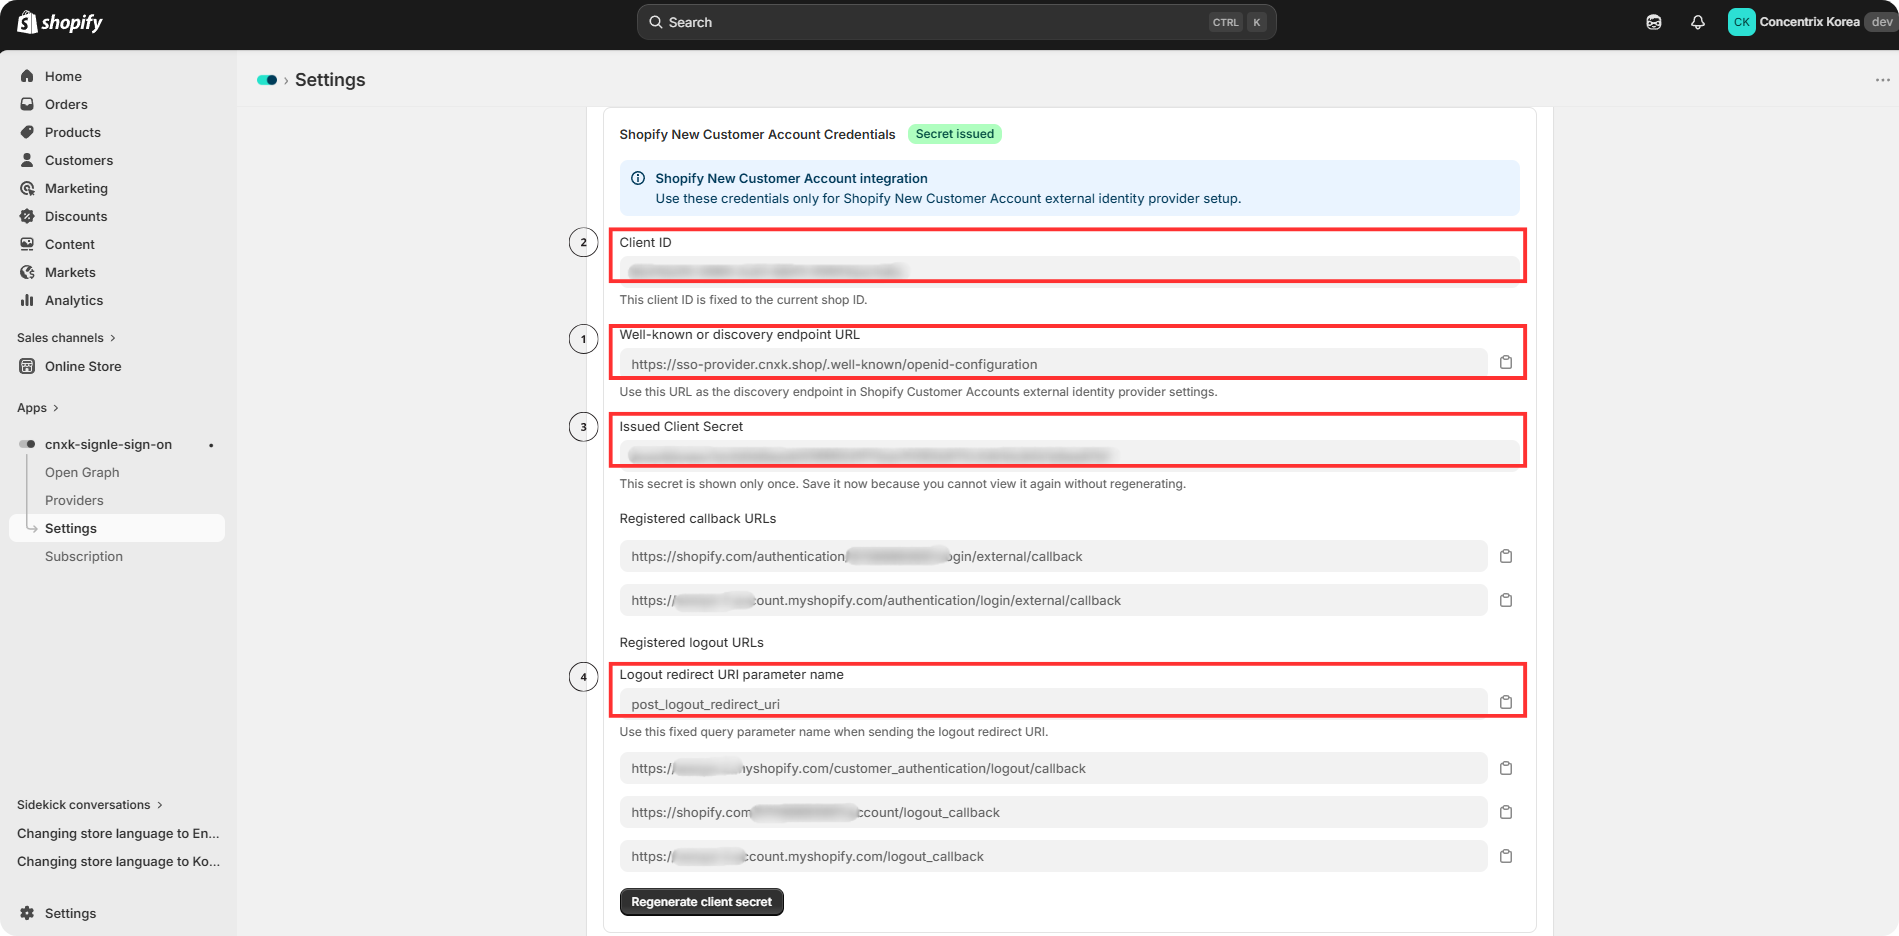
In Section 1, go to the App Settings tab, copy the application information, and paste it into the blank fields below.
The image below shows the information you need to copy from the App Settings tab.
After filling in all required fields, click Save.
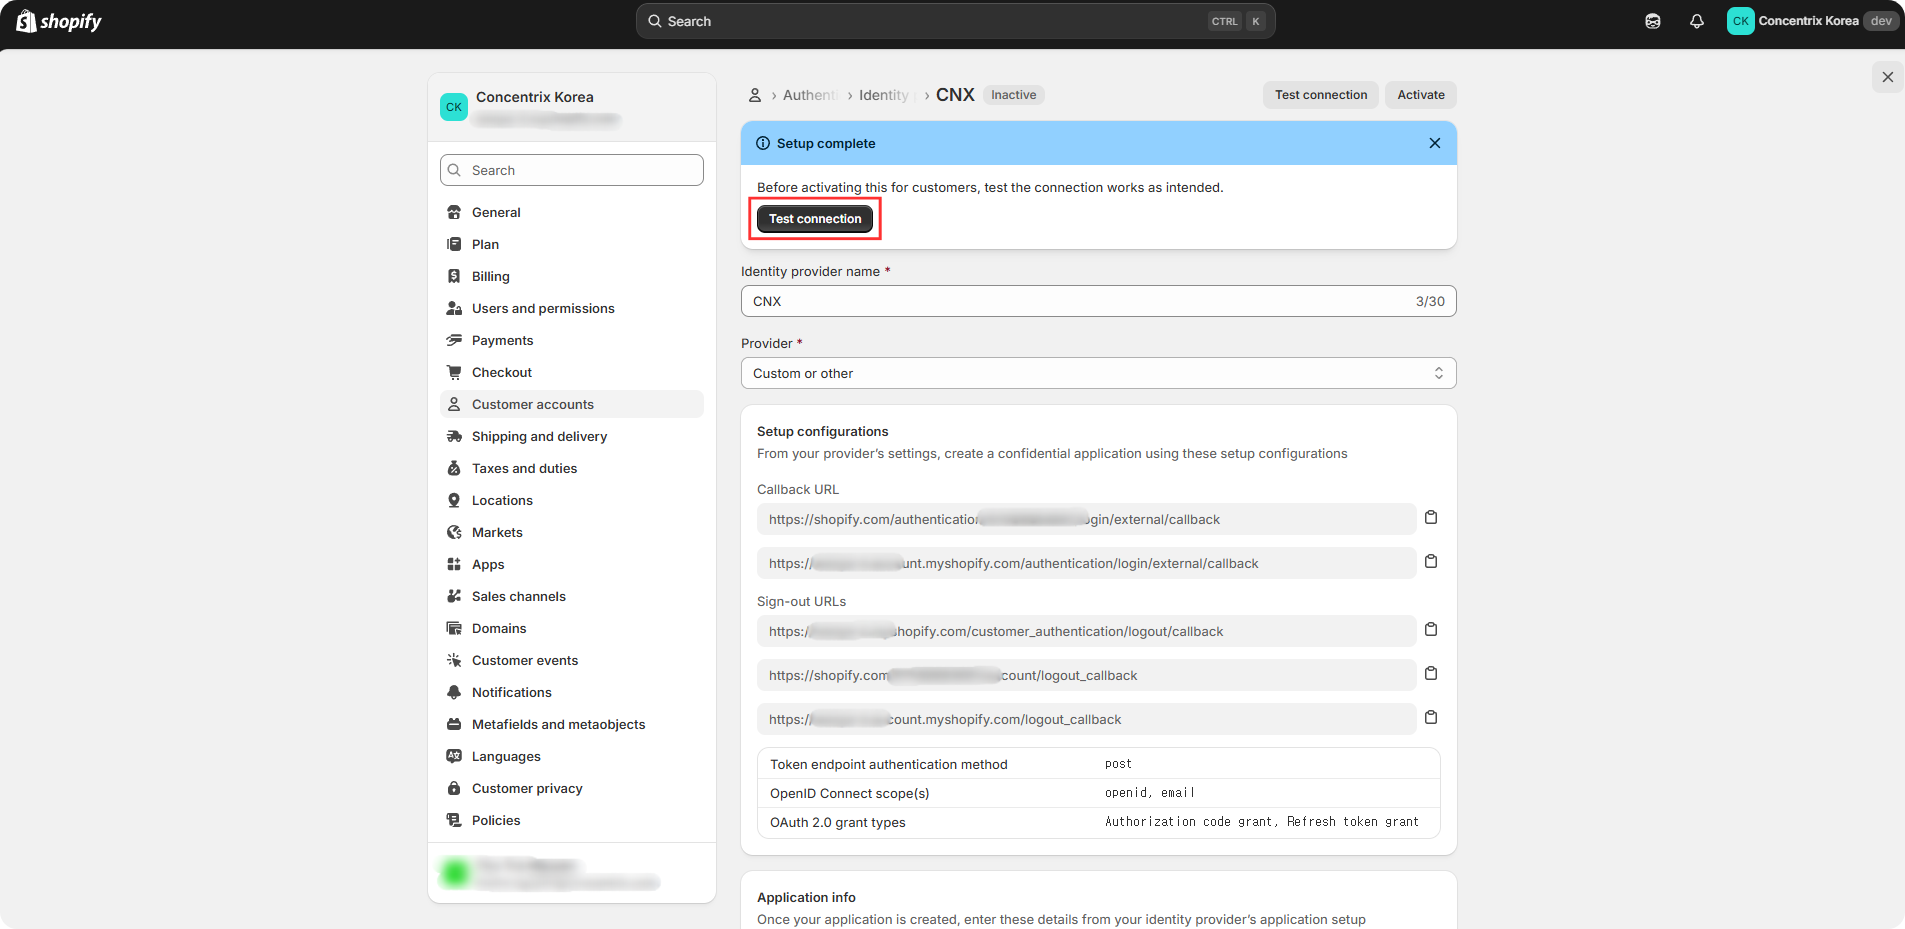
Click Test connection.
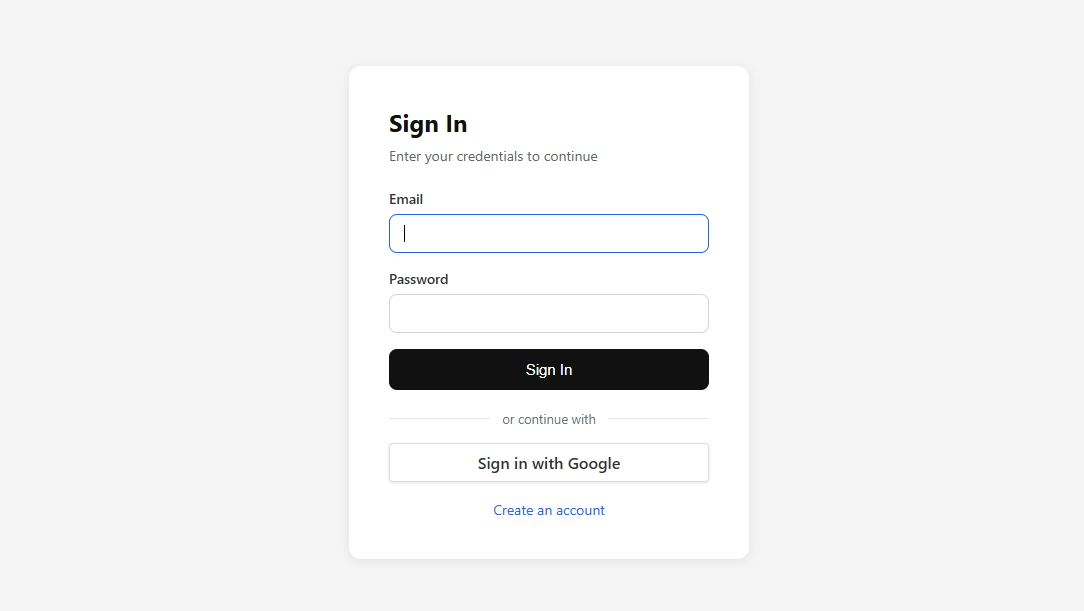
Click Sign in with Google to test Google login.
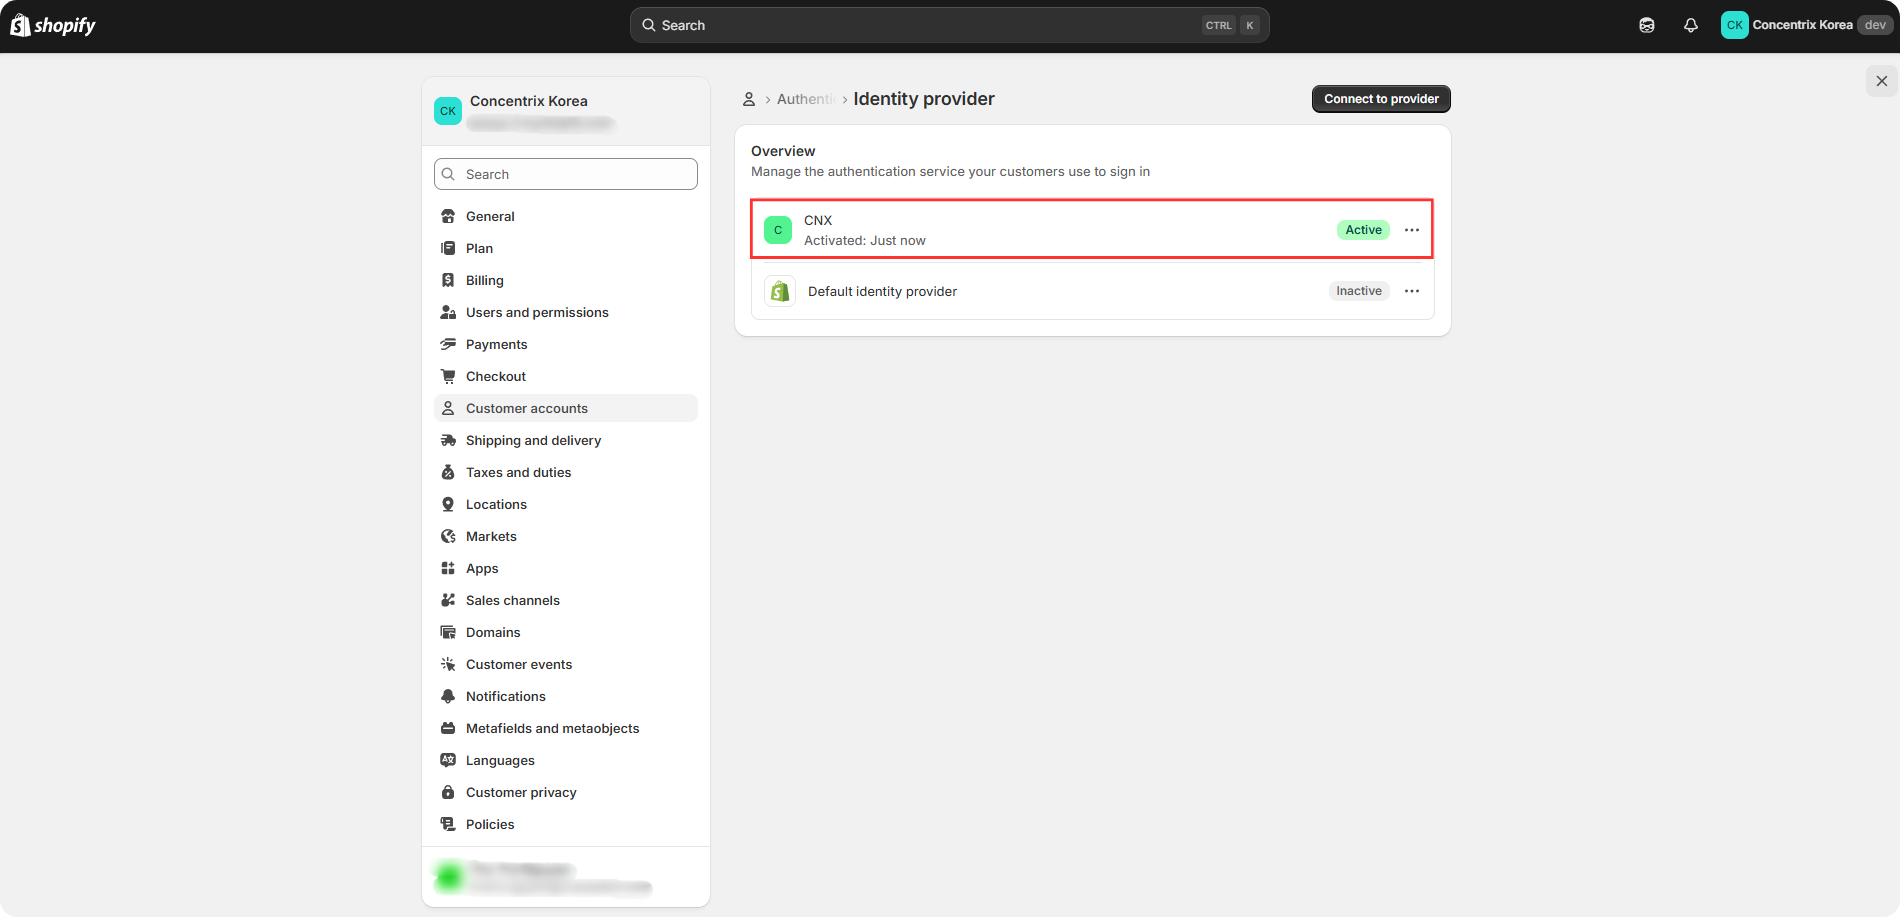
Click Activate to activate the CNX identity provider. You can also check the identity provider status by going to Customer accounts > Authentication (Manage) > Manage providers.